


Use Mixxx to send your music mix to a VosCast Icecast server. If your account shows SHOUTcast, use the separate Mixxx for SHOUTcast guide.
Before you start
Install Mixxx from its official download page. Open Overview → Live broadcasting in your VosCast account and keep the connection fields and maximum bitrate available.
Stop VosCast Auto DJ before connecting directly. This walkthrough uses the standard port. An Icecast TLS port is a different connection setting; do not substitute it into a connection that is not configured for TLS. For an Icecast encoder with an explicit TLS option, see BUTT.
Configure Live Broadcasting
Open Preferences → Live Broadcasting and enter:
| Mixxx field | What to enter |
|---|---|
| Type | Icecast 2 |
| Host | The Server address / Host, without a URL scheme, port, or path |
| Port | The Standard port shown in your account |
| Login | source |
| Password | Your Broadcast password, rather than your account or admin password |
| Mount | The exact Mount point shown in your account, including its leading slash; normally /stream |
| Format | MP3 for this walkthrough |
| Bitrate | A value at or below your account's Maximum Bitrate |
Keep a custom mount unchanged. It forms part of your listener URL, so choosing another mount can leave existing players listening in the wrong place. Complete your station name and other stream information, then apply the settings.
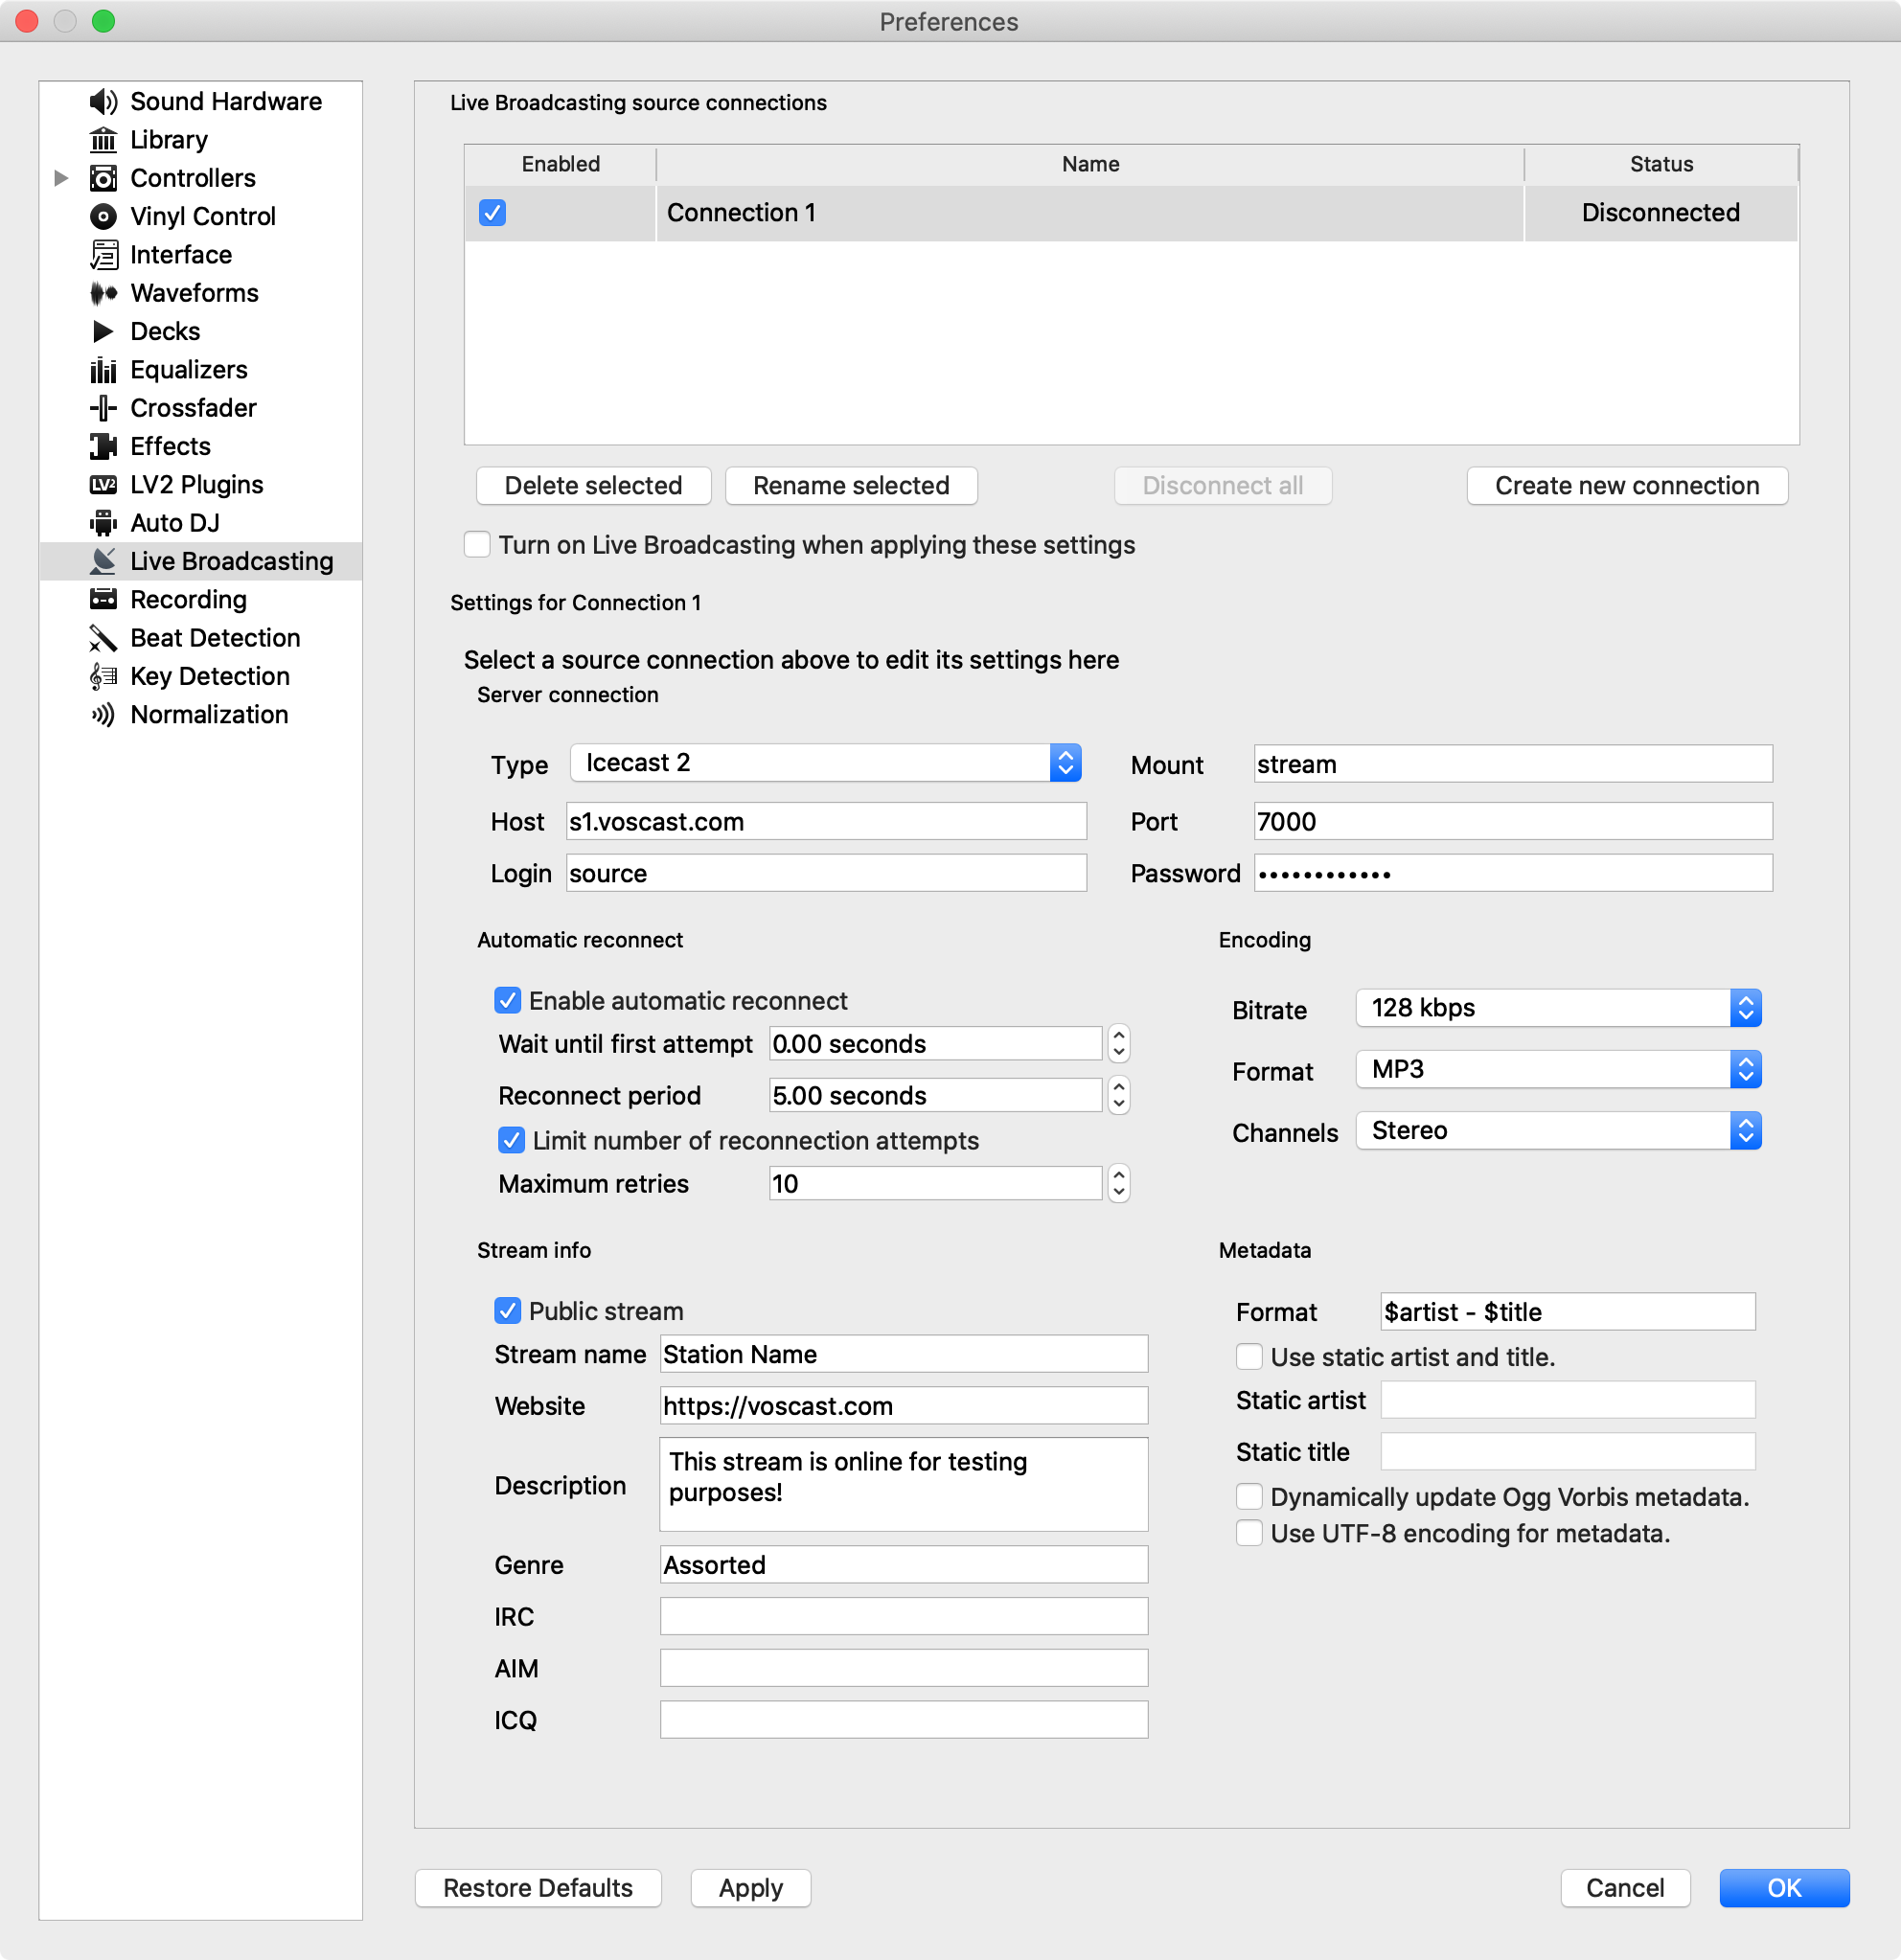
The screenshot predates these instructions. Use the current account values and the leading slash shown above.
Broadcast and listen
- Load and play a track in Mixxx.
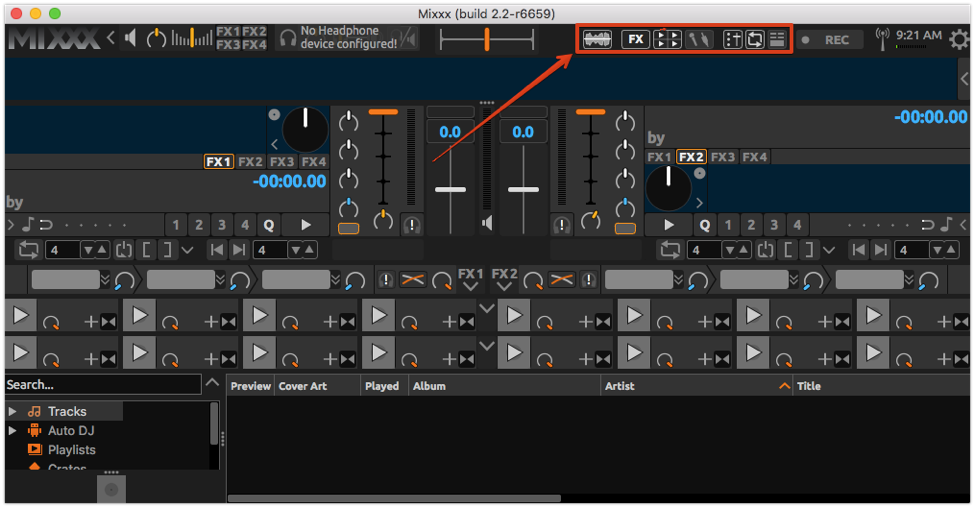
- Choose Options → Enable Live Broadcasting, or the broadcasting control provided by your skin.
- Confirm that the connection succeeds.
- Open your account's listening link on another device or player and check the audio.
- Disable broadcasting at the end of the show. If you normally use hosted Auto DJ, start it again from VosCast after disconnecting Mixxx.
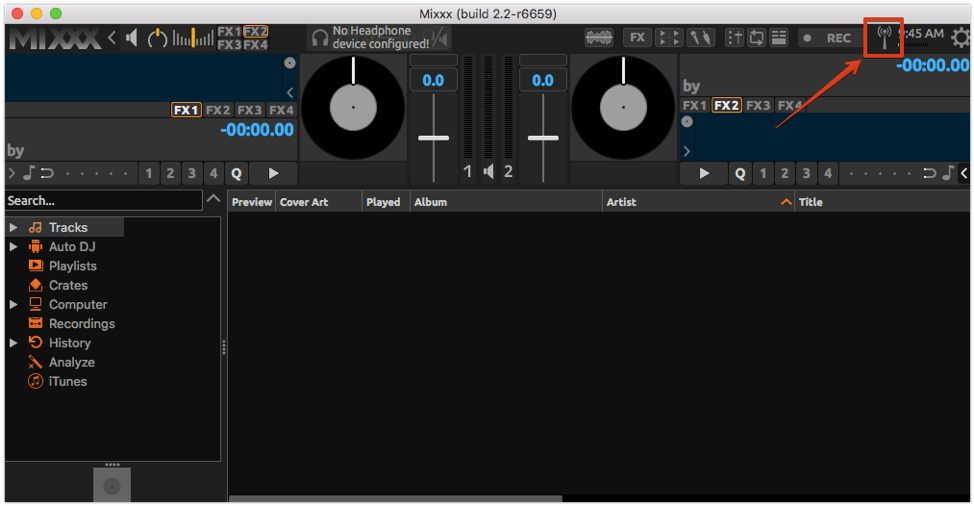
Mixxx sends audio while it is running on your computer. It does not upload your music library to VosCast's hosted Auto DJ.
Play tracks automatically in Mixxx
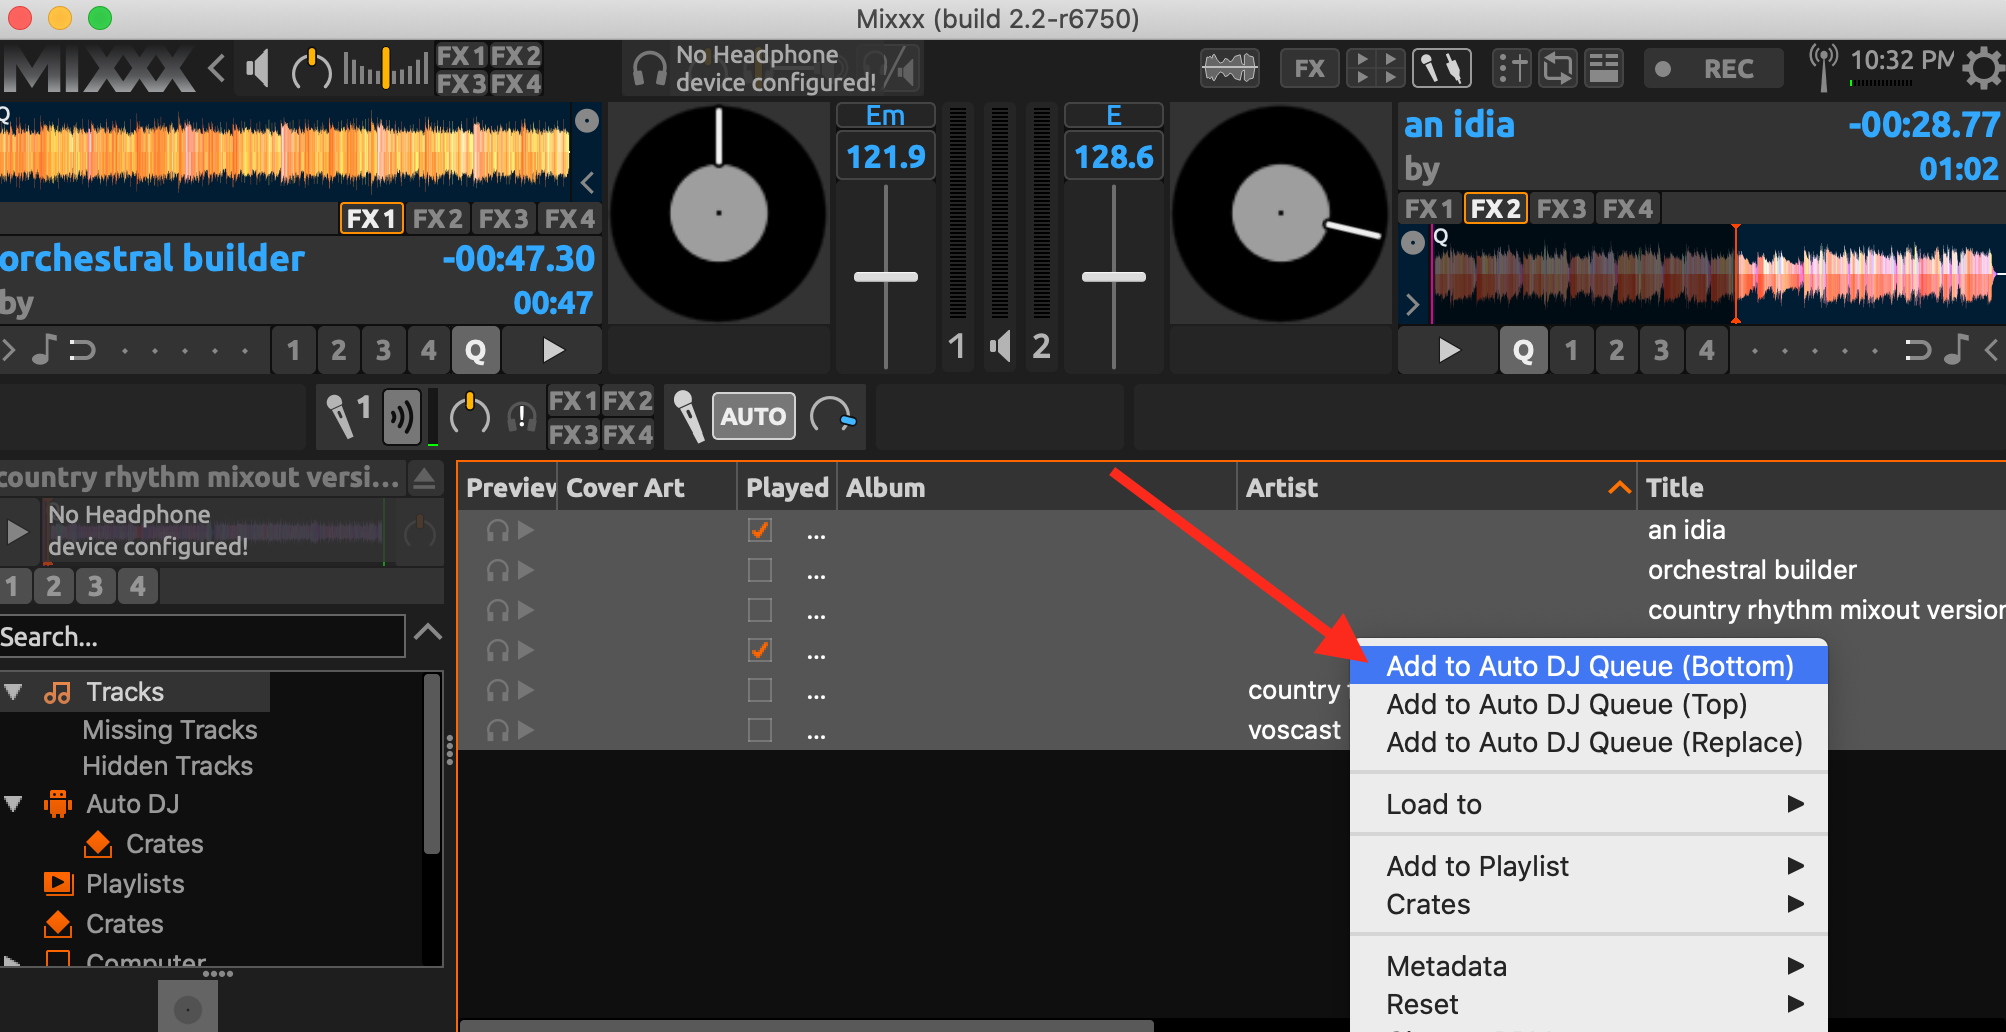
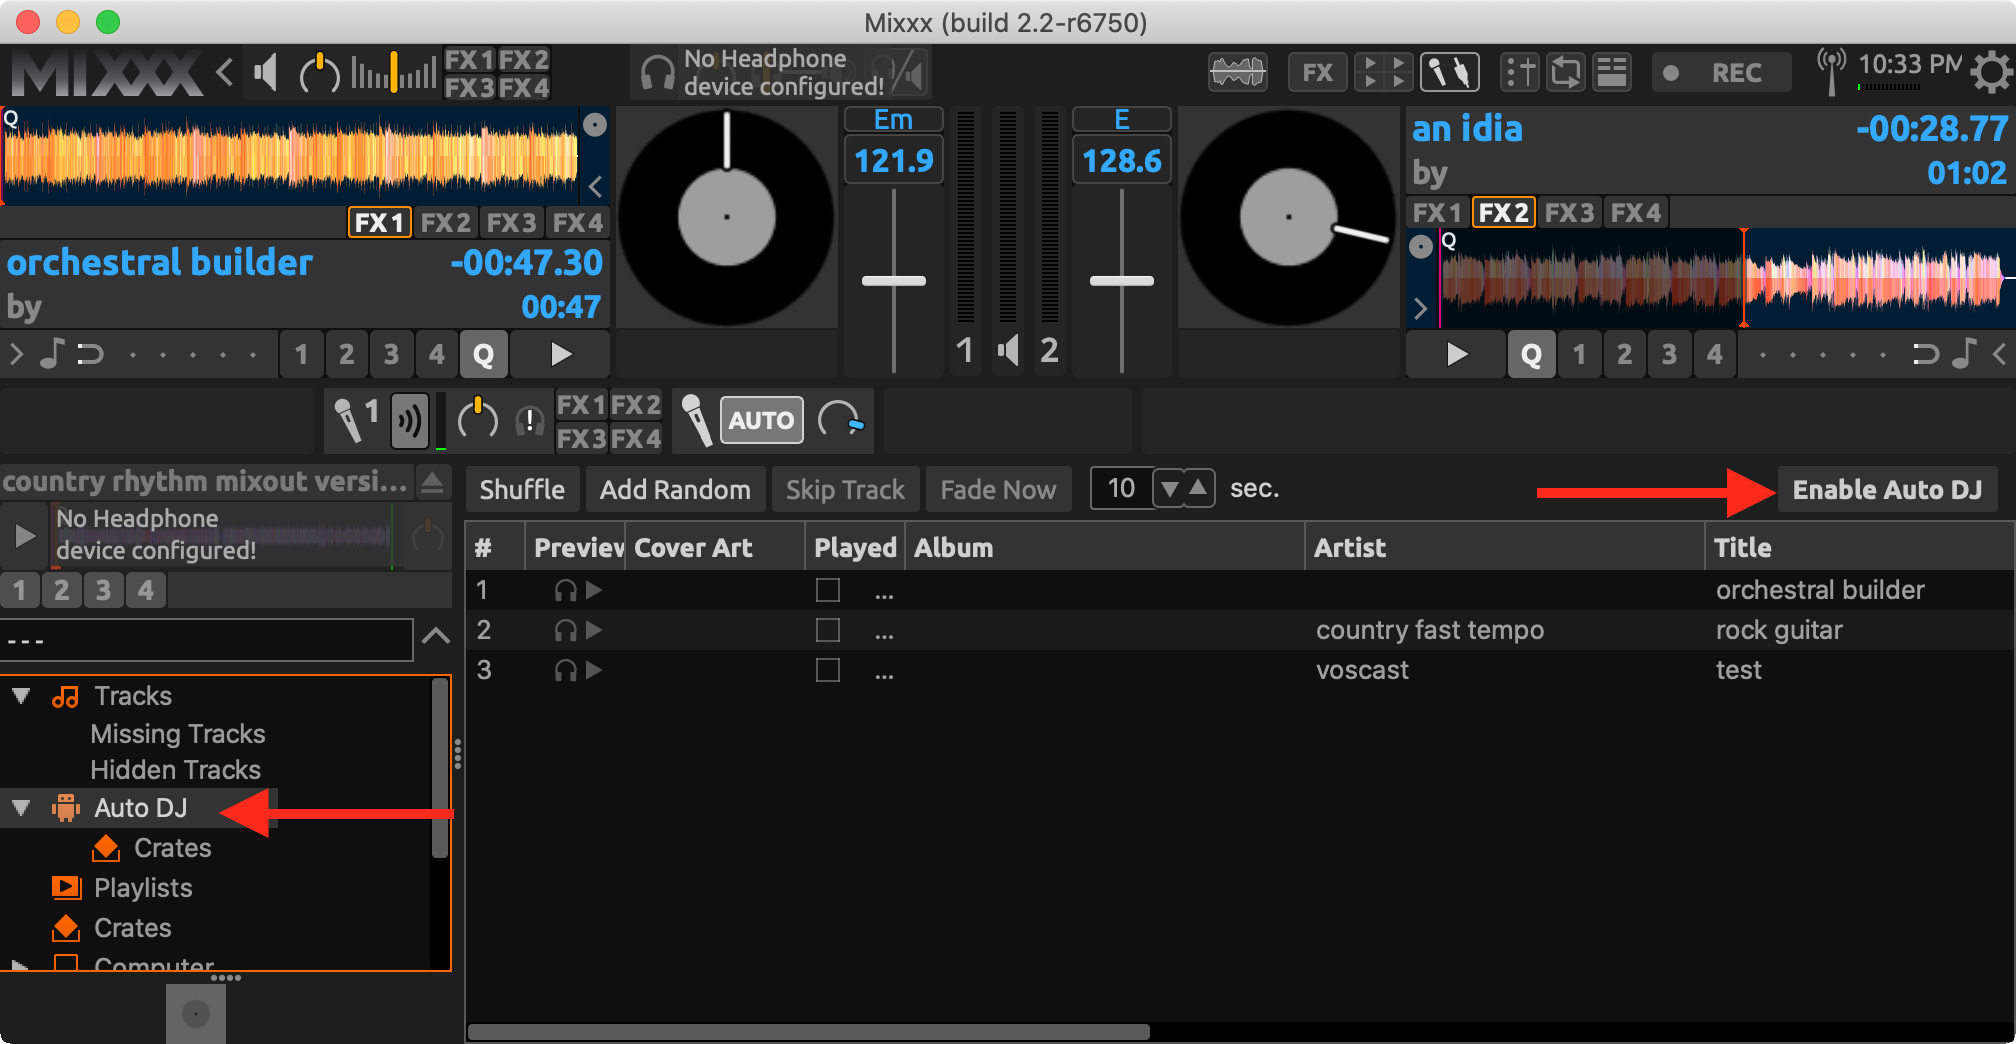
Add the tracks you want to the Auto DJ queue, open the Auto DJ library view, and select Enable Auto DJ. Check that playback and the first transition sound correct. Leave live broadcasting enabled for listeners to receive the mix.
For voice input, follow Mixxx's microphone instructions. Input routing depends on whether you use a microphone directly, an audio interface, or an external mixer.
Troubleshooting
- Cannot connect: recheck the host, standard port,
sourcelogin, broadcast password, and exact mount. Stop hosted Auto DJ or another encoder first. - Wrong stream or no audio in the player: compare the player's mount with the account's Mount point. Confirm that a track is playing and that the deck and main levels are audible.
- MP3 is unavailable: follow the installation instructions for your Mixxx build.
- Connection drops: note the Mixxx error and check your upload connection and bitrate. Never include your broadcast password in a public error report.
Optional: screen layout
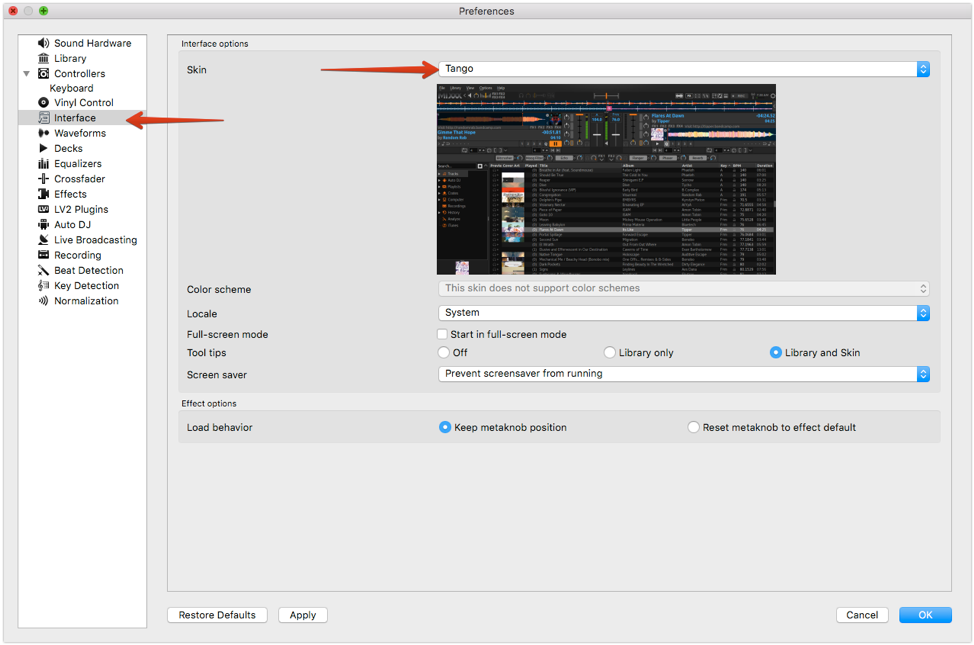
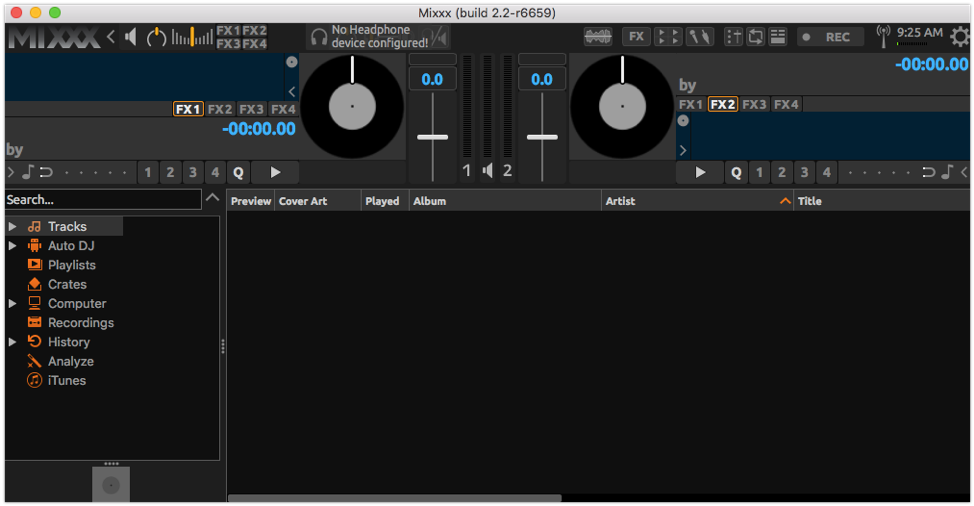
The Tango skin and panel settings shown below are optional and do not affect the server connection. Your Mixxx version may look different.