


Mixxx can mix music and microphone audio on your computer and send the result to your VosCast SHOUTcast server. Use this guide if your account shows SHOUTcast. For an Icecast server, follow Mixxx for Icecast.
Before you start
Install Mixxx from its official download page. Open your VosCast account and find Overview → Live broadcasting. Keep the host, server port, broadcast password, and maximum bitrate available.
Stop VosCast Auto DJ before connecting directly. Your computer must stay connected and Mixxx must remain running throughout a live show.
Enter the connection settings
Open Preferences → Live Broadcasting and configure your connection:
| Mixxx field | What to enter |
|---|---|
| Type | Shoutcast 1 |
| Host | The Server address / Host from your account, without http://, https://, a path, or a port |
| Port | The Server port (SHOUTcast) shown in your account; enter the base port as displayed |
| Login | admin, if a Login field is shown |
| Password | Your Broadcast password; this is different from your VosCast account or server admin password |
| Mount | Leave blank for this SHOUTcast connection |
| Format | MP3 |
| Bitrate | A value at or below your account's Maximum Bitrate |
Enter your station's name in Stream name and complete the other station information. A nonempty stream name matters when connecting to SHOUTcast 2 through its SHOUTcast 1 compatibility mode. Selecting Shoutcast 1 here does not mean that you need to change your server version.
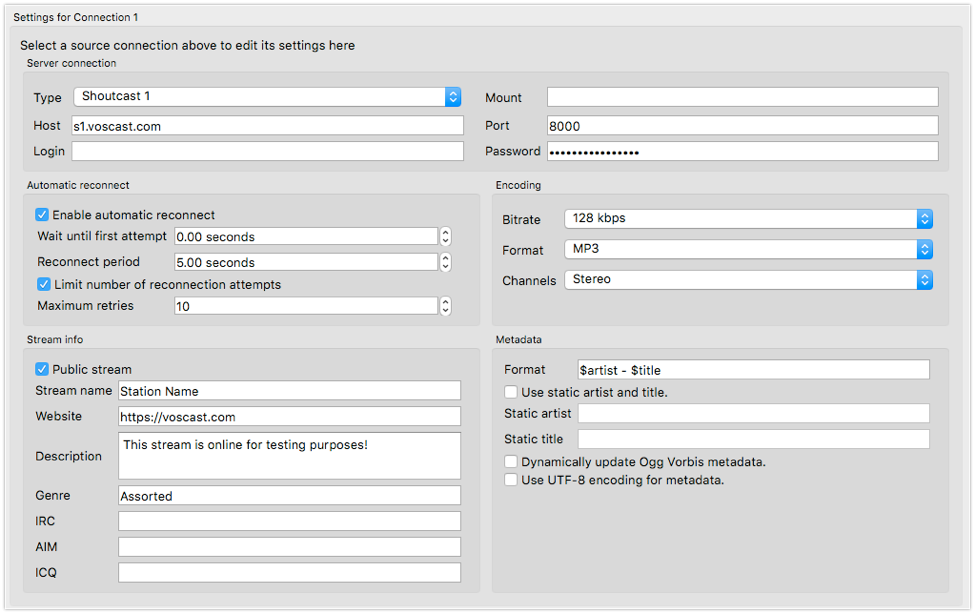
Use the values in your account and the table above rather than copying the example screenshot.
Start and check your broadcast
- Apply the connection settings and load a track into a deck.
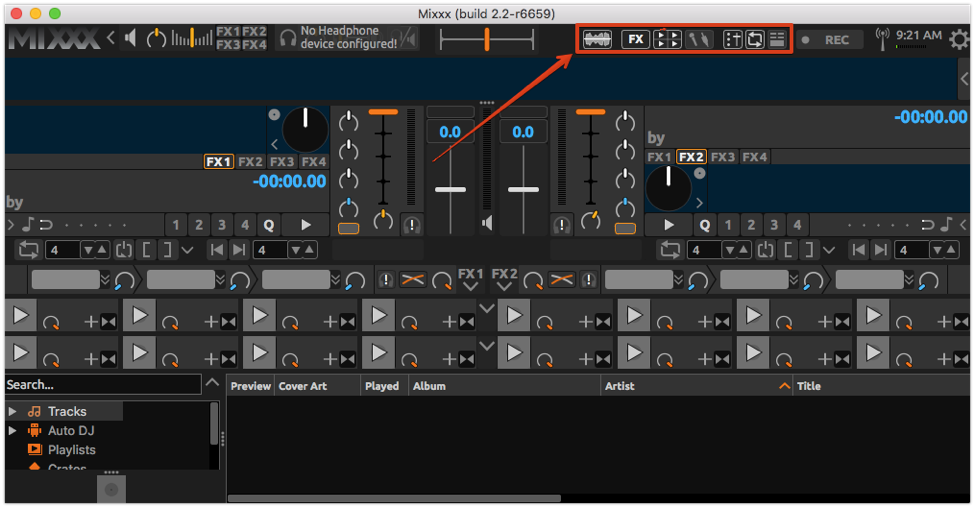
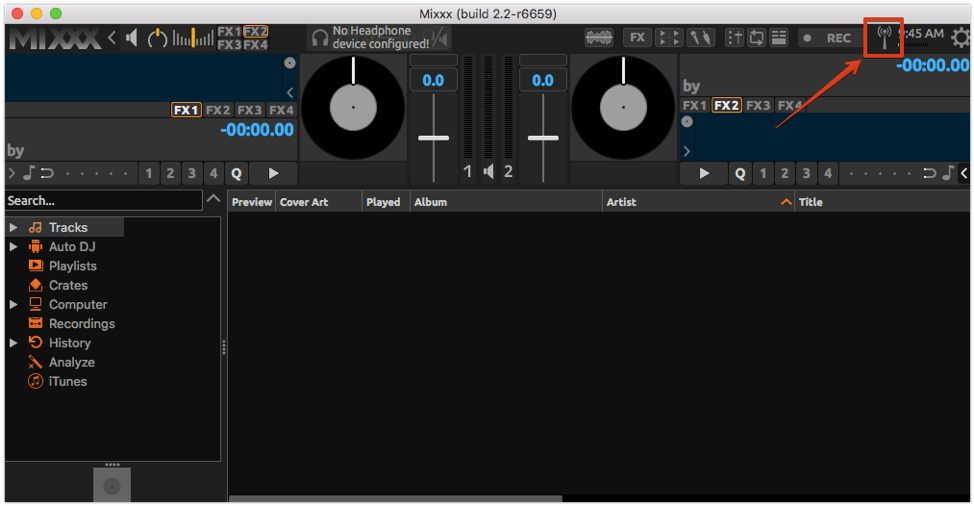
- Choose Options → Enable Live Broadcasting. Depending on the skin, a broadcasting or antenna control is also available.
- Start the track and confirm that Mixxx reports a connection.
- Open your account's listening link in another player or device and check that you hear the expected audio. Keep monitoring volume low or use headphones to avoid feedback.
- Disable live broadcasting when your show ends. Restart VosCast Auto DJ separately if you want it to resume.
Add a microphone
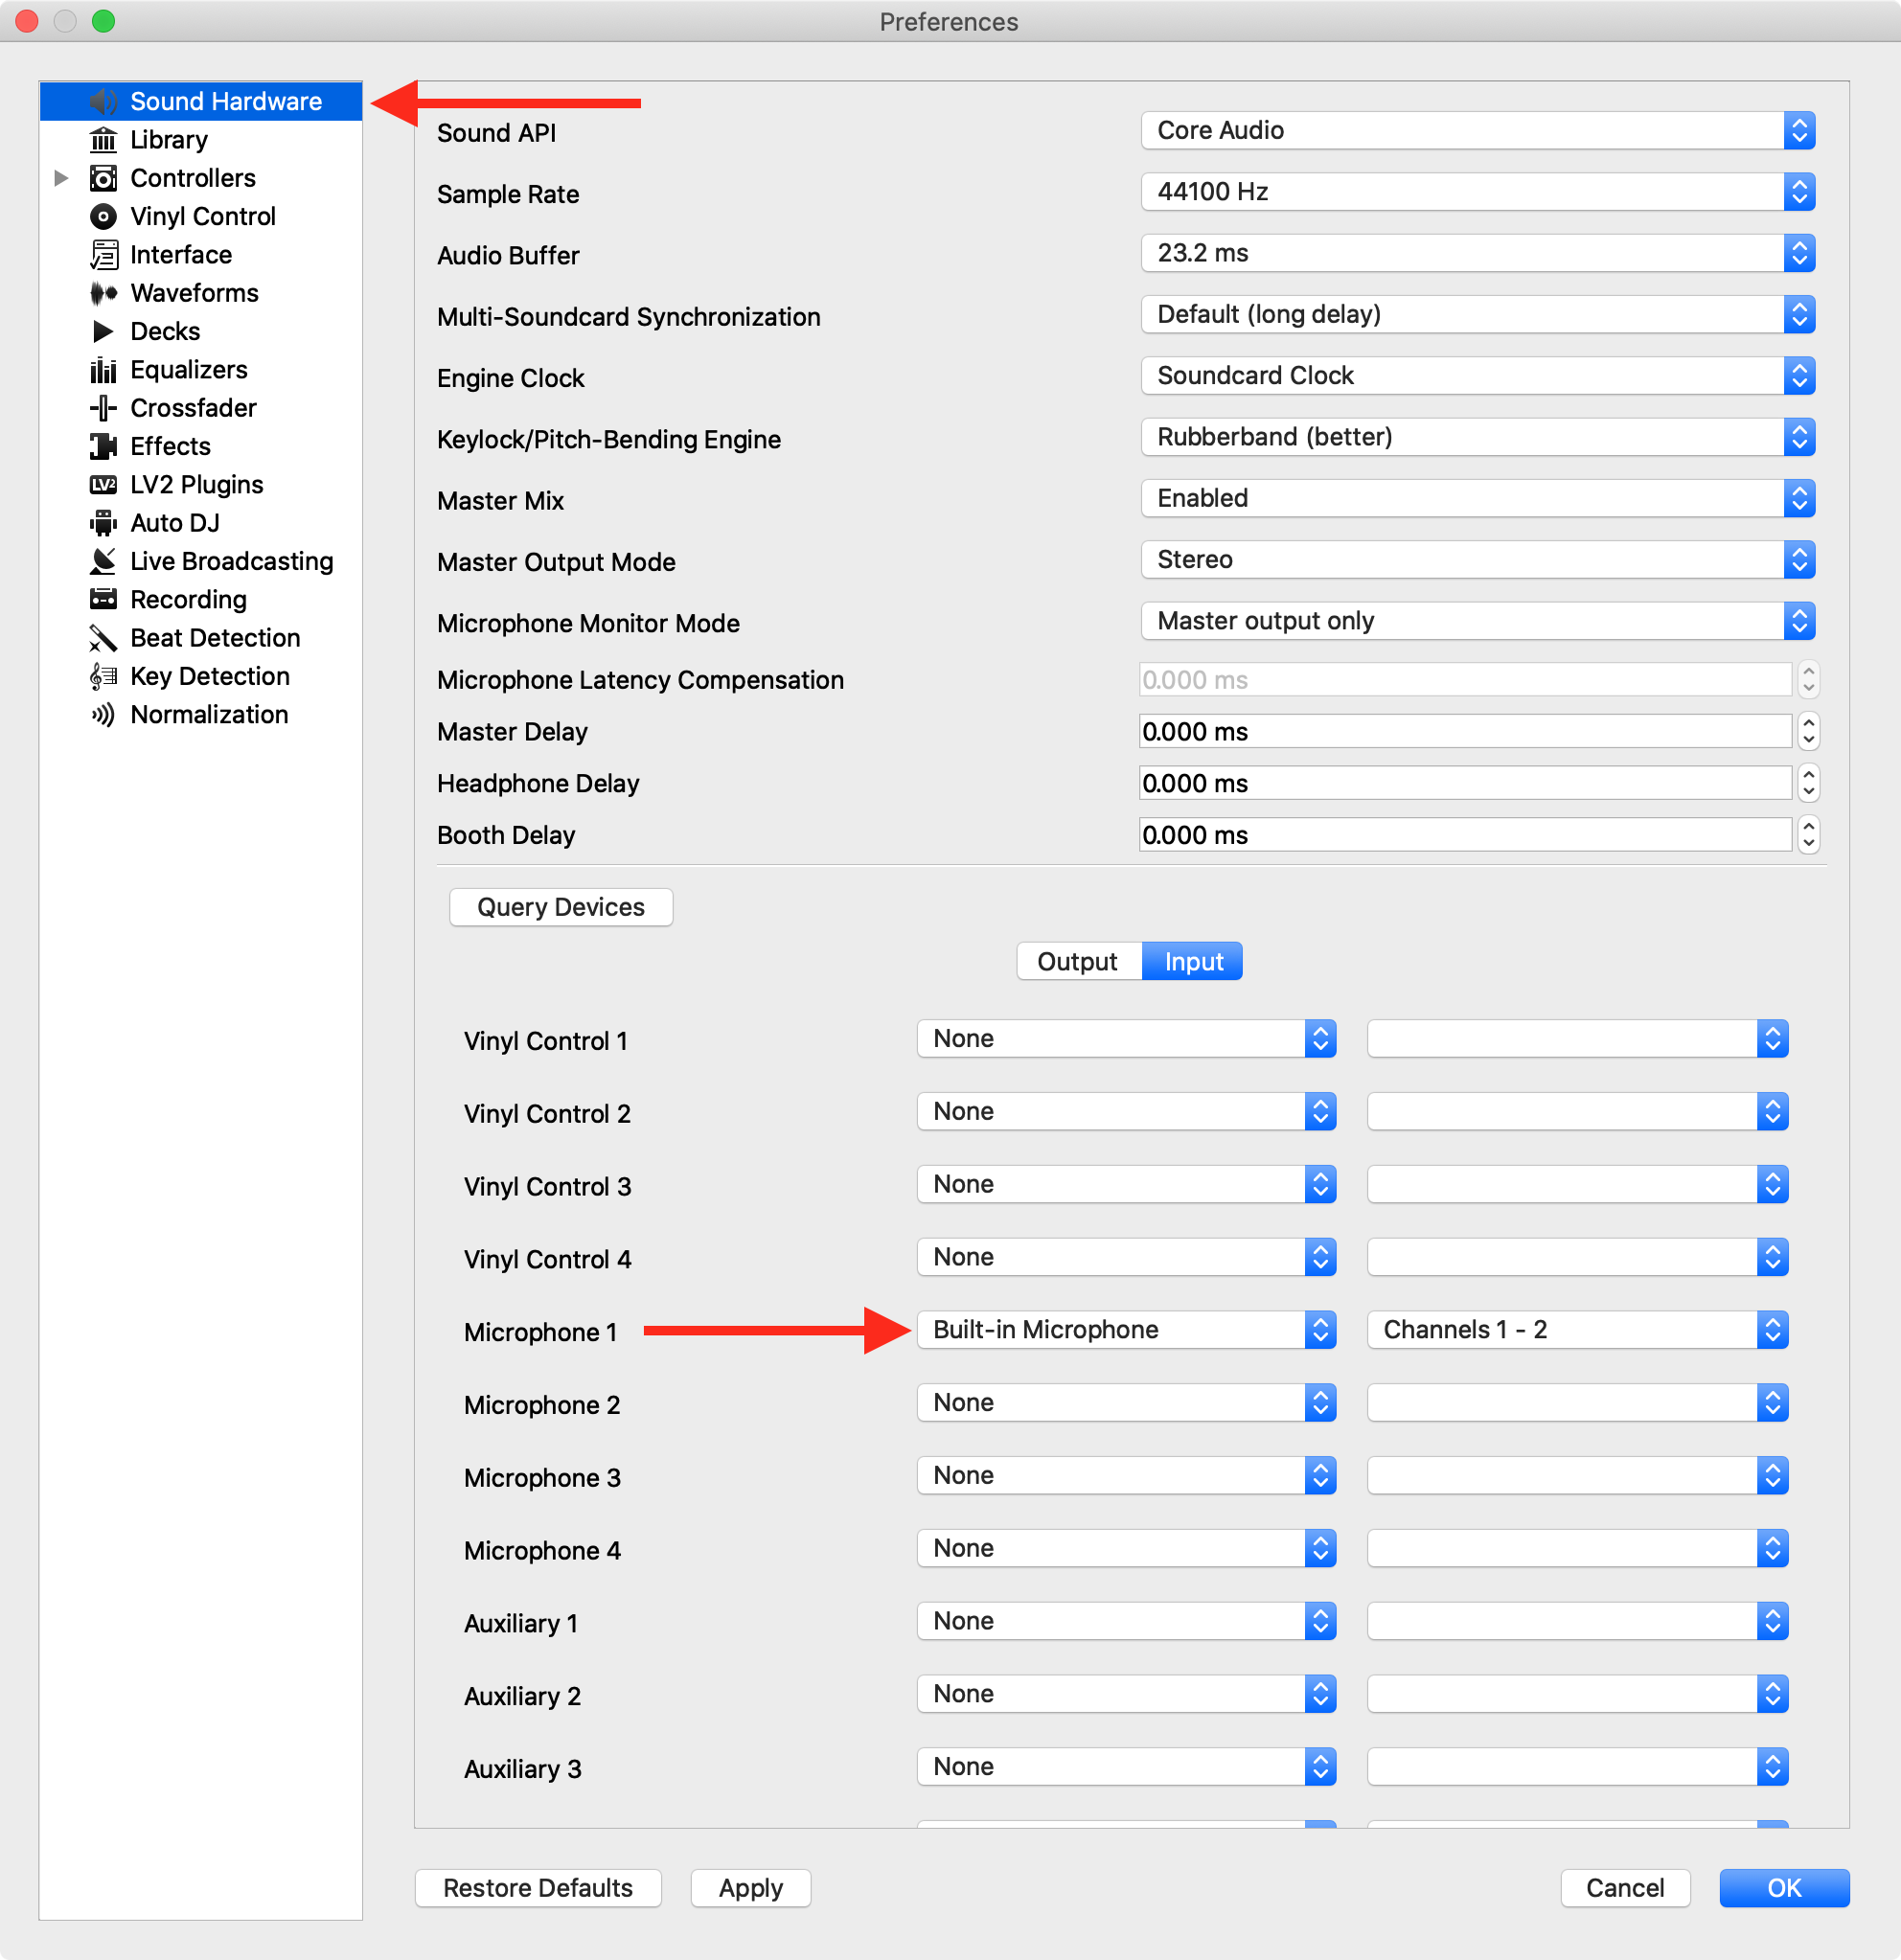
For a microphone connected directly to your computer, open Preferences → Sound Hardware → Input, assign the microphone input, and apply the change. Show the microphone controls and use Talk when speaking. Adjust the input level while checking the broadcast for clipping or silence.
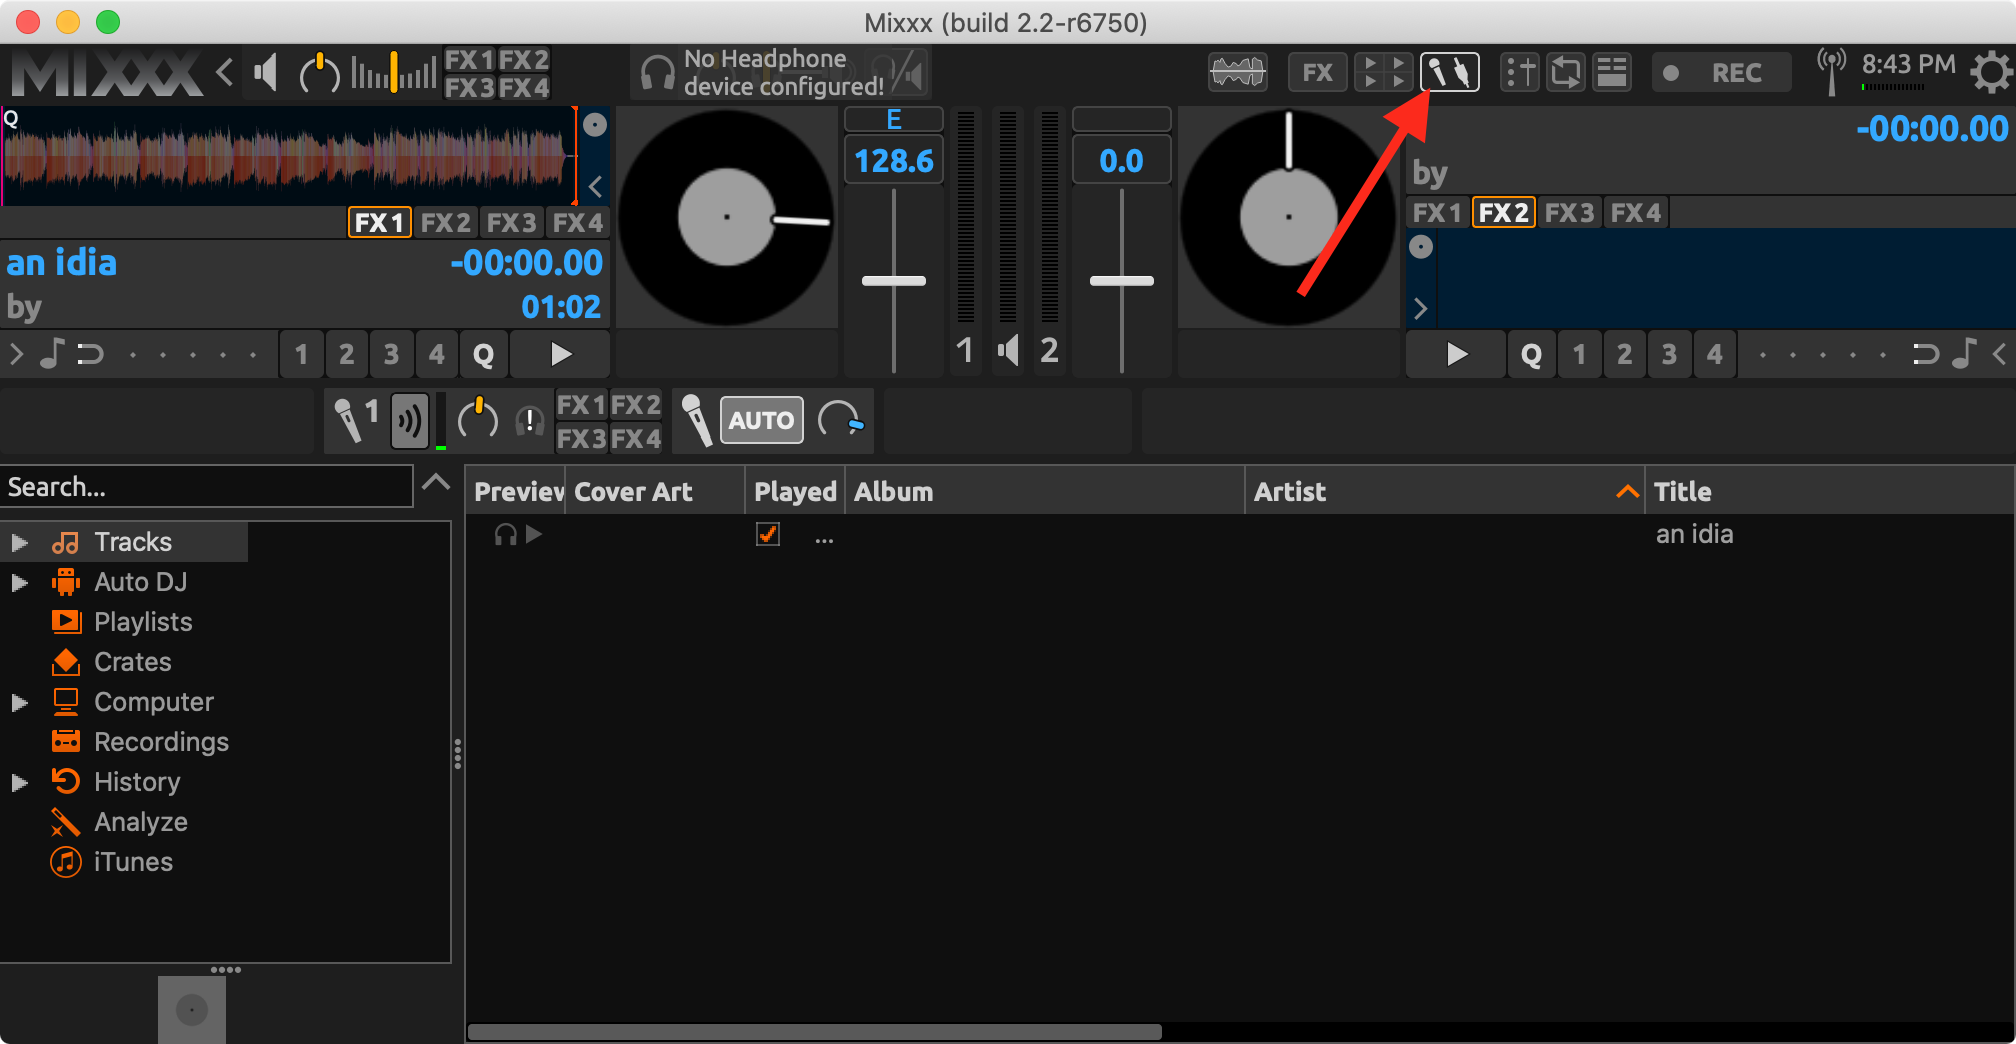
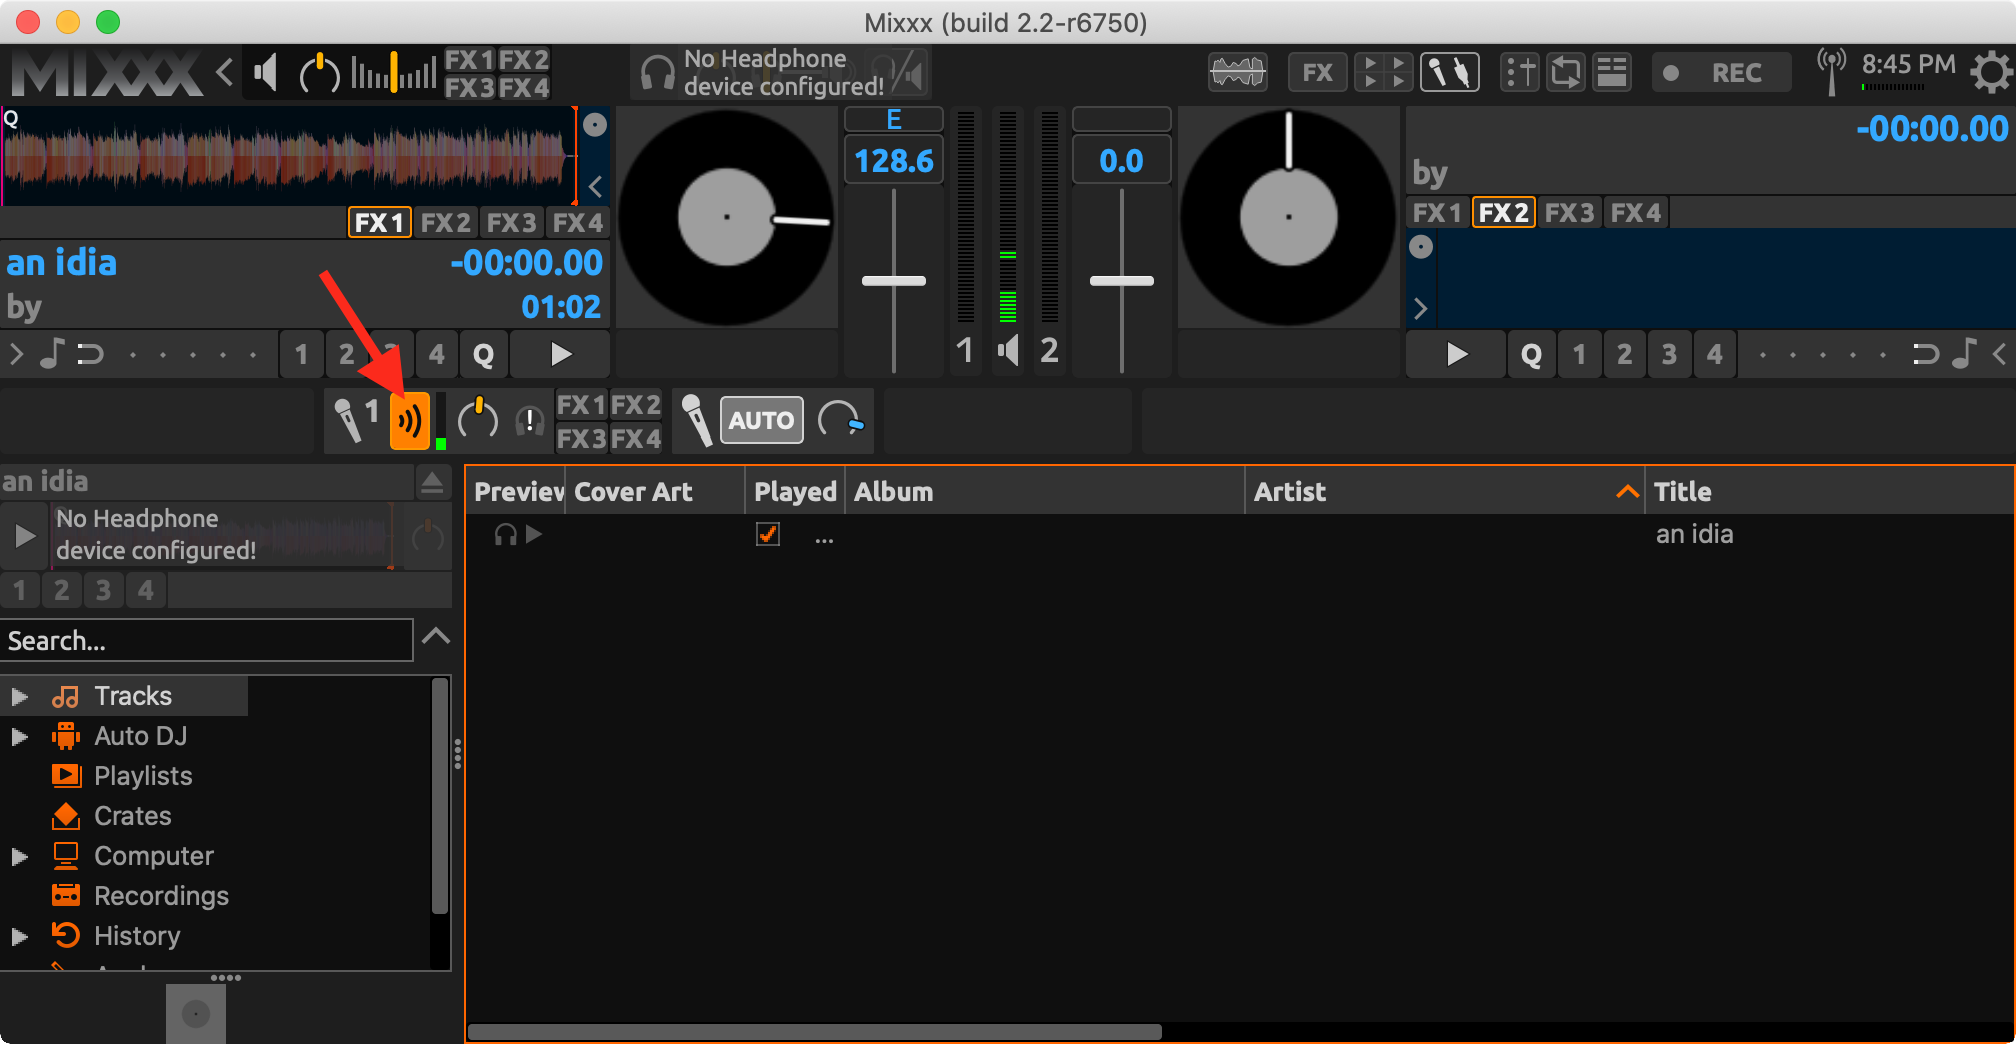
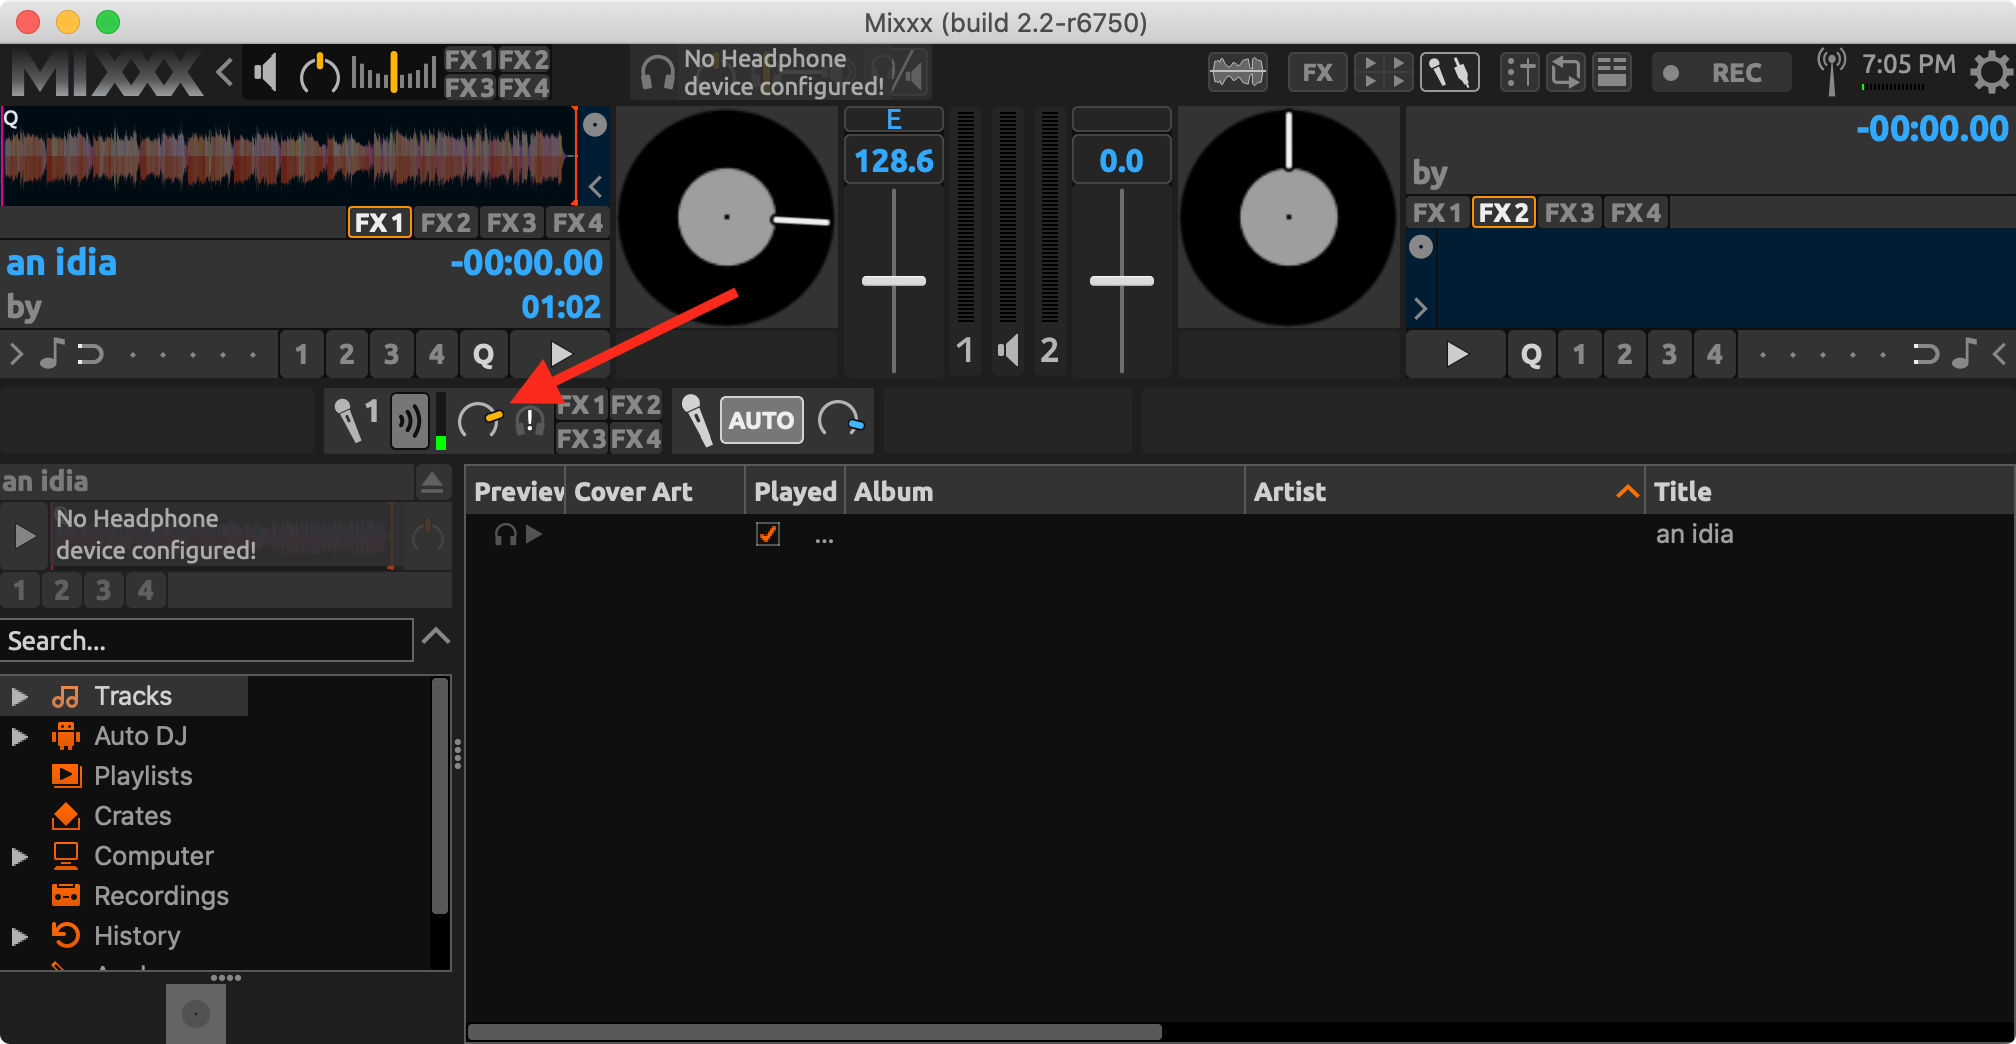
Audio interfaces and external mixers can require a different monitoring or Record/Broadcast configuration. Follow the Mixxx microphone chapter for your hardware; hearing a microphone locally does not by itself confirm it is in the broadcast.
Let Mixxx play a queue
Mixxx's Auto DJ runs on your computer and is separate from the hosted VosCast Auto DJ.
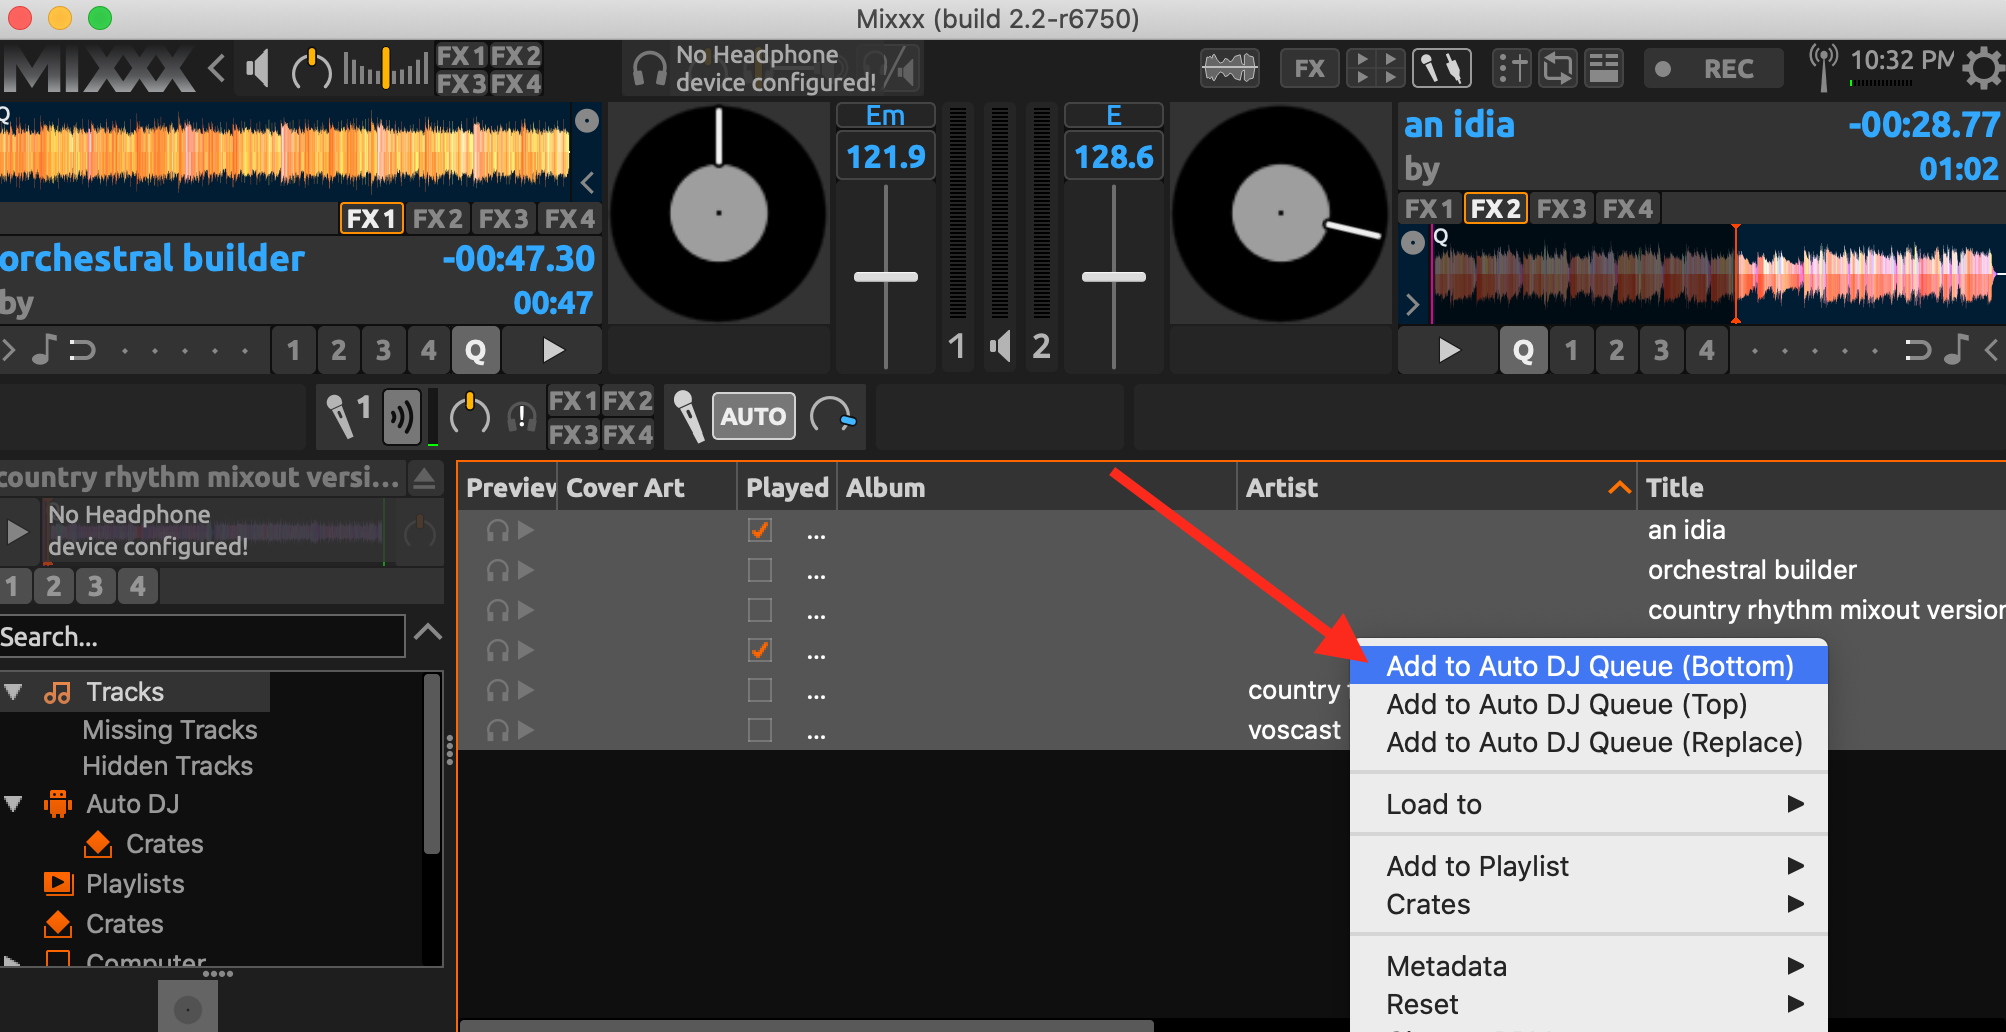
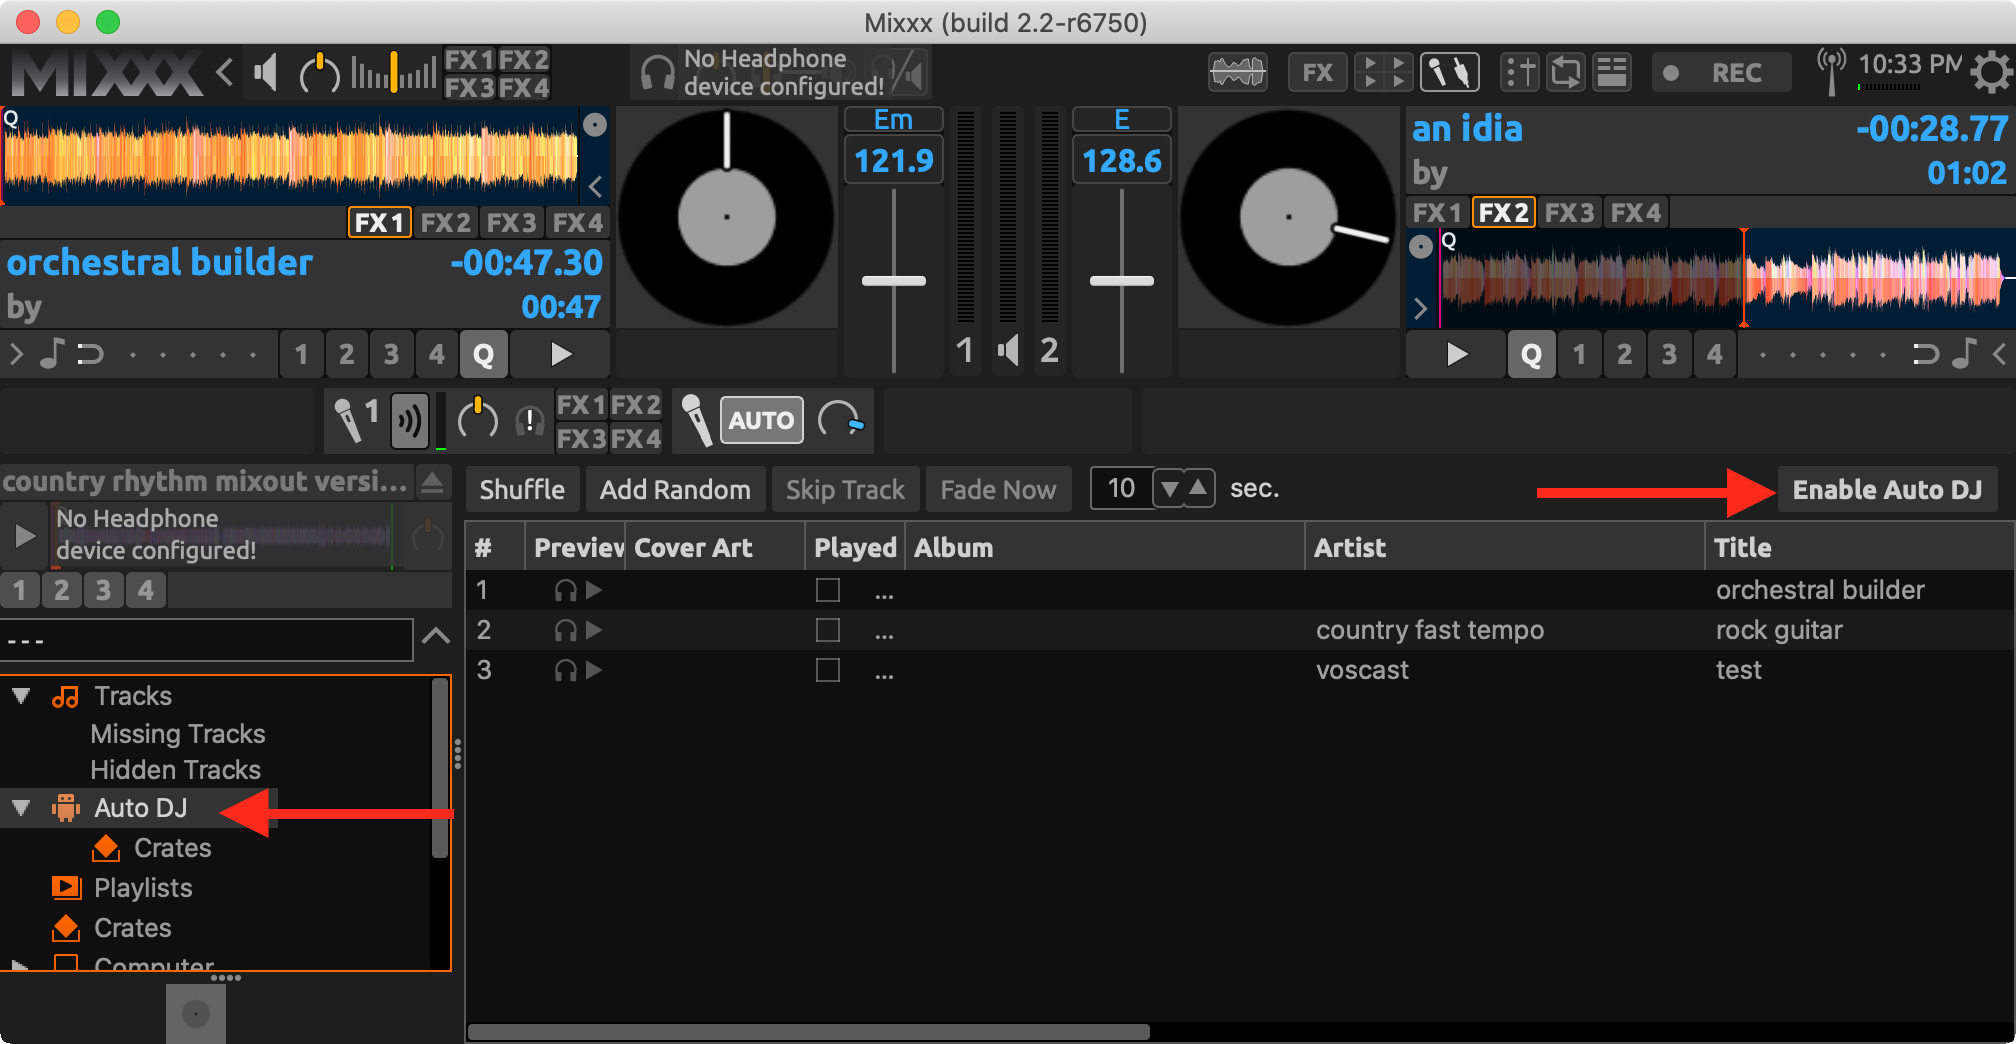
Add tracks to Mixxx's Auto DJ queue, open that library view, and select Enable Auto DJ. Check the first transition before leaving it unattended. Keep live broadcasting enabled if you want the queue to reach your listeners.
If it does not work
- Connection rejected: copy the broadcast password again, confirm the SHOUTcast server type and port, and check that Auto DJ or another encoder is not already connected. Keep a station name in Stream name.
- Connected but silent: play a track, check deck and main levels, and test the listening link. For microphones, check the input assignment and Talk control.
- MP3 encoder error: follow the installation instructions for your Mixxx build.
- Drops during a show: check the connection status and your upload connection; try a lower bitrate within your plan limit. Save the error text for support, without sharing your password.
Optional: interface layout
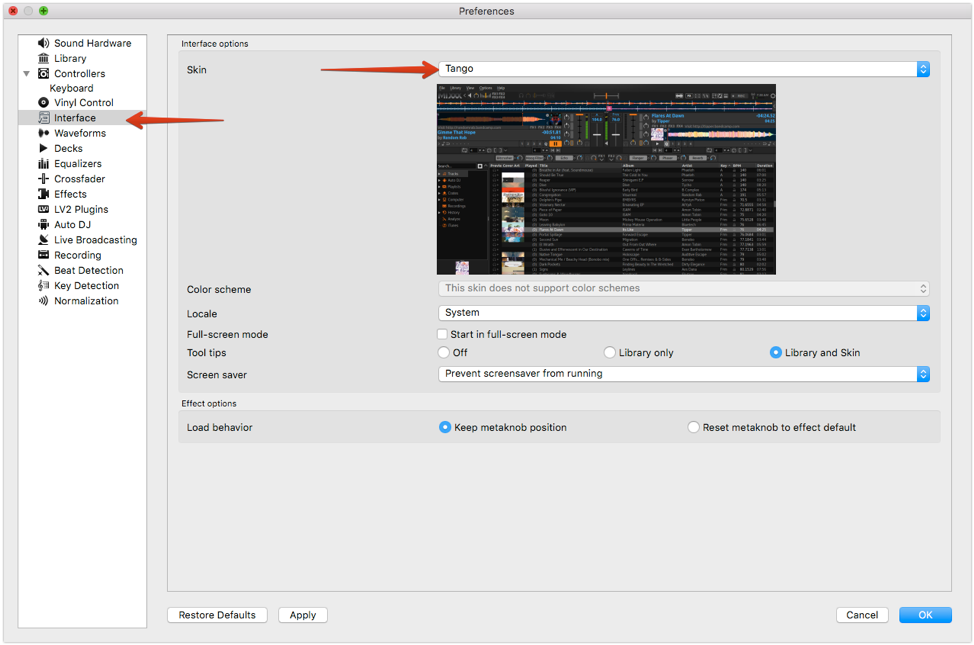
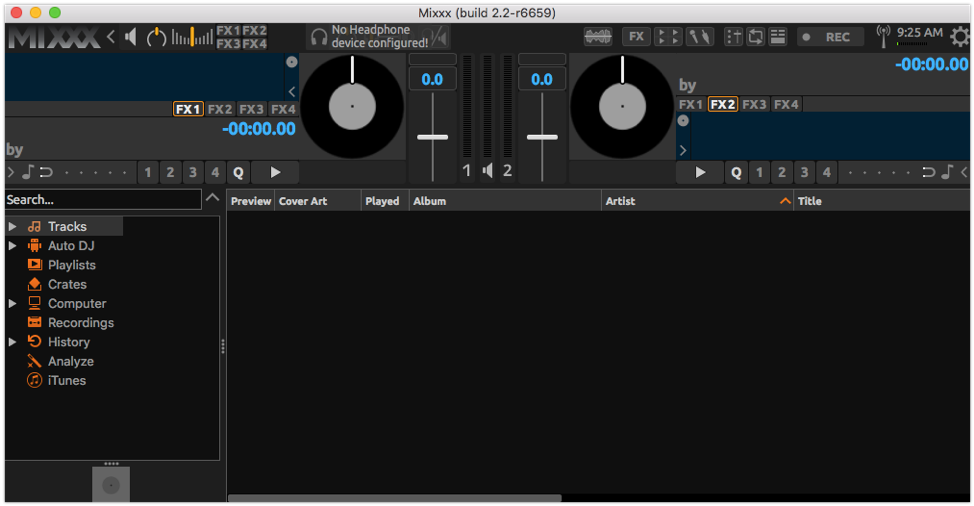
Any skin can be used to broadcast. The Tango skin and panel settings shown below are optional layout choices.