



1. Register on VosCast.com
The first step to starting your own online radio station is purchasing radio hosting!
You can do this right here on VosCast.com. Head over to the plans page to get started.
Now, you may be wondering which plan to choose. This depends mostly on your budget.
128Kb/s will sound the best, and 24Kb/s will sound the worst.
If you have a low budget, we recommend 48Kb/s. However, for the best quality, go with 128Kb/s.
Go to the Plans Page (New window)
2. Set up Your Computer for Broadcasting
Now that you have a SHOUTcast server, you're ready to start streaming. The following steps will outline what you need to do to start streaming live. This tutorial is for Mac OS X.
a. Install Nicecast
You can download and purchase Nicecast from Rogue Amoeba’s website.
b. Configure Nicecast for streaming
-
Launch Nicecast
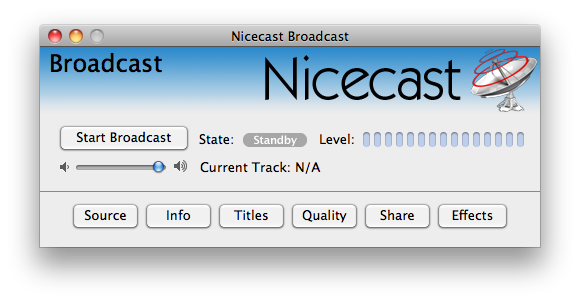
-
By default, Nicecast will select iTunes as the audio source. In most cases this will be the correct source for you, however you can change it by going clicking the “Source” button.
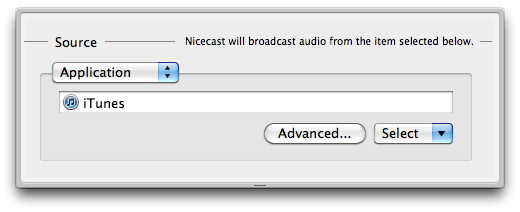
-
Click the “Quality” button. Select the bitrate of your plan and the channel (Stereo or Mono audio) you wish to stream in.
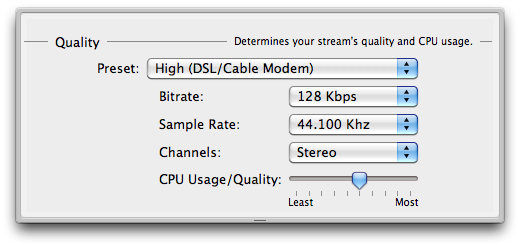
-
Click “Window” in the menu bar and select “Show Server”.
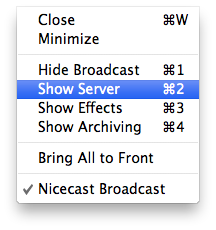
-
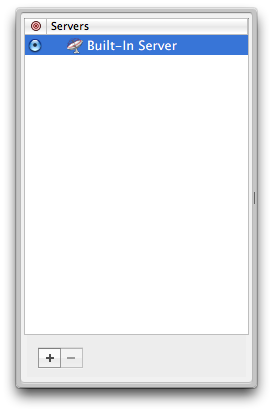
In the sidebar, click the “+” button to add a new server.
-
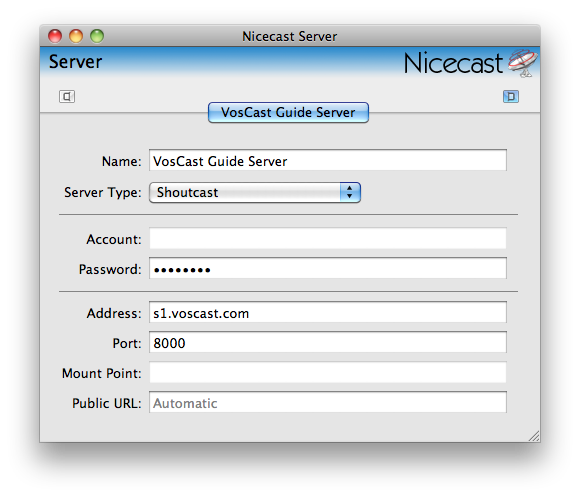
Type in your VosCast account information and make sure your new server is selected in the sidebar.
-
Close the server window and go back to the main Nicecast window. Now you can start broadcasting!